


Source: buzzfeed.com
1. Create a grab-n-go healthy snack bin.

For your kids, for yourself, for everyone — grab a snack on your way out the door and have it with you for when you get peckish. See more great ideas here.
Here’s what we’re snacking on this week:
- String cheese
- Baby carrots
- Strawberries
- Red grapes
- Trail mix (Yes, I realize this is only semi-healthy.)
- Apples
I use this tip from Food Lush to keep my berries fresh for days: Rinse berries in a mixture of one part vinegar (white or apple cider vinegar) and 10 parts water. You can’t taste the vinegar at all and it will keep your berries from getting moldy so quickly.
Other fun snack ideas:
- Red pepper slices
- Pineapple “sticks” (these would be great for “baby-led weaning“)
- Sliced cantaloupe
- Peeled, hard-boiled eggs
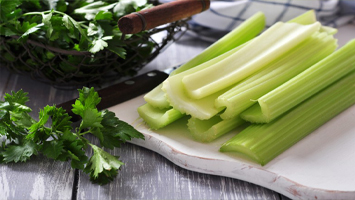
- Celery
- Little containers of peanut butter and hummus for dipping
- Homemade spiced carrot muffins
- Homemade peanut butter protein balls
- Graham crackers
- Pretzels
Source: newleafwellness.biz
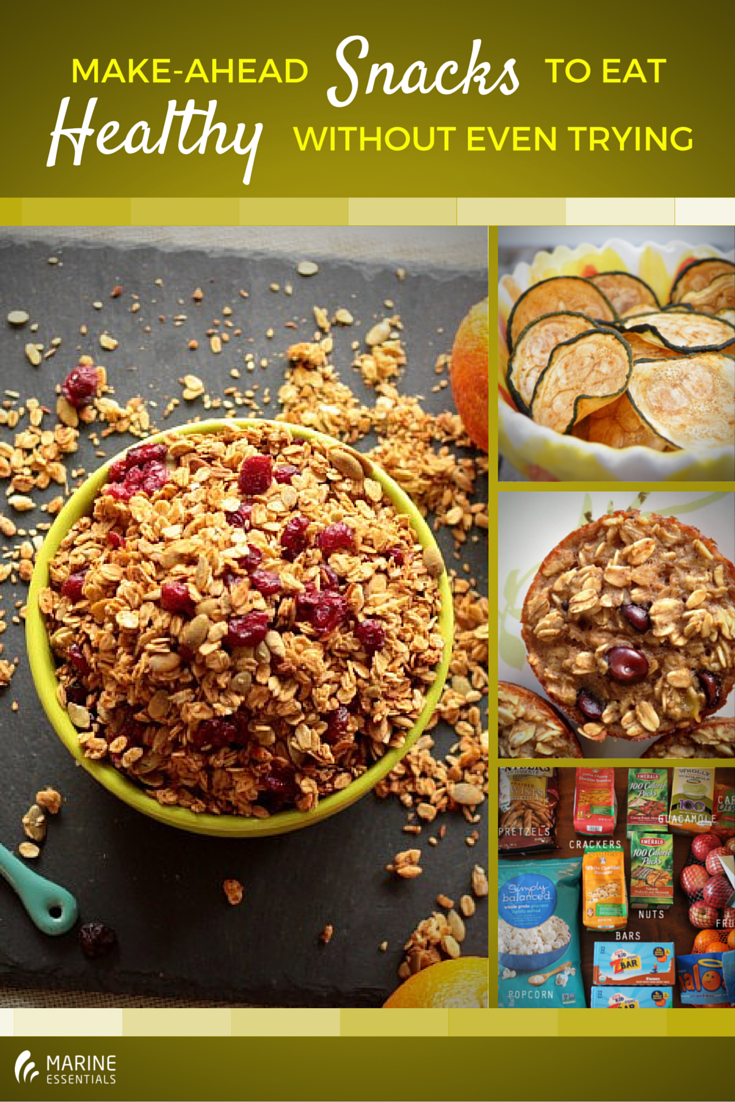
2. Mix up some cranberry orange pecan granola for the week.

- 1 ½ c old-fashioned oats (or gluten-free)
- 1 ½ c rice krispies cereal
- ¼ c orange juice
- 1 tsp orange zest
- ½ tbsp oil
- 2 tbsp maple syrup
- 1 egg white, lightly beaten
- 3 tbsp dried cranberries
- 2 tbsp chopped pecans
1. Preheat the oven to 350°F, and lightly coat a 9” square baking pan with nonstick cooking spray.
2. In a large bowl, combine the oats and rice krispies cereal. In a separate bowl, whisk together the orange juice, orange zest, oil, maple syrup, and egg white. Pour over the cereal, and stir with a spatula until evenly coated.
3. Spread into the prepared pan, and bake at 350°F for 40-45 minutes, stirring every 15 minutes, or until golden and crunchy. Cool for 5 minutes in the pan before breaking up any large clumps with your fingers. Cool to room temperature; then toss in the dried cranberries and pecans. Store in an airtight container.
Notes: Make sure you stir every 15 minutes! If you wait longer, the granola closest to the edges of the pan will brown too quickly and may acquire a burnt taste. You can also stir every 10 minutes after the first 15 minutes in the oven.
For a vegan version, replace the egg white with an additional 2 tablespoons of orange juice.
Recipe Source: amyshealthybaking.com
3. Or cook and freeze these DIY oatmeal cups.

- 3 cups Chex Gluten Free oats
- ¼ cup brown or demerara sugar, or to taste
- 3 cups water
- 3 cups milk of choice
- pinch salt
- Assorted chopped fruit, nuts, chocolate chips, or other toppings
1. Combine the oats, sugar, water, milk, and salt in a large saucepan and bring to a boil.
2. Redice heat to medium and cook for 2-3 minutes, or to desired consistency. Set aside to cool slightly.
3. Spray two 12-cup muffin tins with cooking spray and set out toppings in bowls.
4. Divide the cooked oatmeal between the muffin cups, and top each with desired toppings.
5. Cover with plastic wrap and place in the freezer for several hours, or until frozen.
6. Once frozen, pop out of the muffin tins, loosening with a butter knife or small spatula, if necessary and wrap in sandwich bags or plastic wrap.
7. Remove desired number of cups (one to three per serving) from the freezer the night before or day you plan to serve them.
8. Warm in the microwave for 1-2 minutes (longer if still frozen), and stir in a little more milk, if desired.
Recipe Source: cupcakesandkalechips.com
4. Or prep a batch of these crispy zucchini chips.

You may need a mandolin to get them extra thin, though. Get the recipe here.
Snacks Serves: 50+ zucchini chips
Ingredients:
1 large zucchini
2 tbsp. olive oil
Instructions:
1. Preheat oven to 225 degrees Fahrenheit. Line two large baking sheets (I used two 17″ baking sheets) with silicon baking mats or parchment paper.
2. Slice your zucchini on a mandolin. Mine had 1, 2, or 3 for thickness and I used 2.
3. After you slice your zucchini, place the slices on a sheet of paper towels and take another paper towel and sandwich the zucchini slices and press on them. This helps draw out the liquid so it’ll cook a bit faster.
4. Line up the zucchini slices on the prepared baking sheet tightly next to each other in a straight line, making sure not to overlap them.
5. In a small bowl, pour your olive oil in and take a pastry brush to brush the olive oil on each zucchini slice.
6. Sprinkle salt throughout the baking sheet. Do NOT overseason, in fact, it’s better to use less salt initially because the slices will shrink; so if you overseason, it’ll be way too salty! You can always add more later.
7. Bake for 2+ hours until they start to brown and aren’t soggy and are crisp.
8. Let cool before removing and serving.
9. Keep in an airtight container for no more than 3 days
Recipe Source: tablefortwoblog.com


